LoopyLab

IPMI with port forwarding

I recently had the problem, that the IPMI virtual console was not working on one of my servers.

After searching the problem in icedtea I discovered errors while downloading files:

...
JAR https://localhost:443/liblinux_x86_64.jar not found. Continuing.
...
JAR https://localhost:443/iKVM.jar not found. Continuing.
...

I missed that the console works on other ports than 80 and that was the only forwarded port. So I changed my ssh command line to forward all IPMI ports:

sudo ssh -L 80:192.168.205.115:80 -L 443:192.168.205.115:443 \
  -L 623:192.168.205.115:623 -L 5900:192.168.205.115:5900 root@example.com

LED Wall Light

Here is a LED light I built a few months ago.

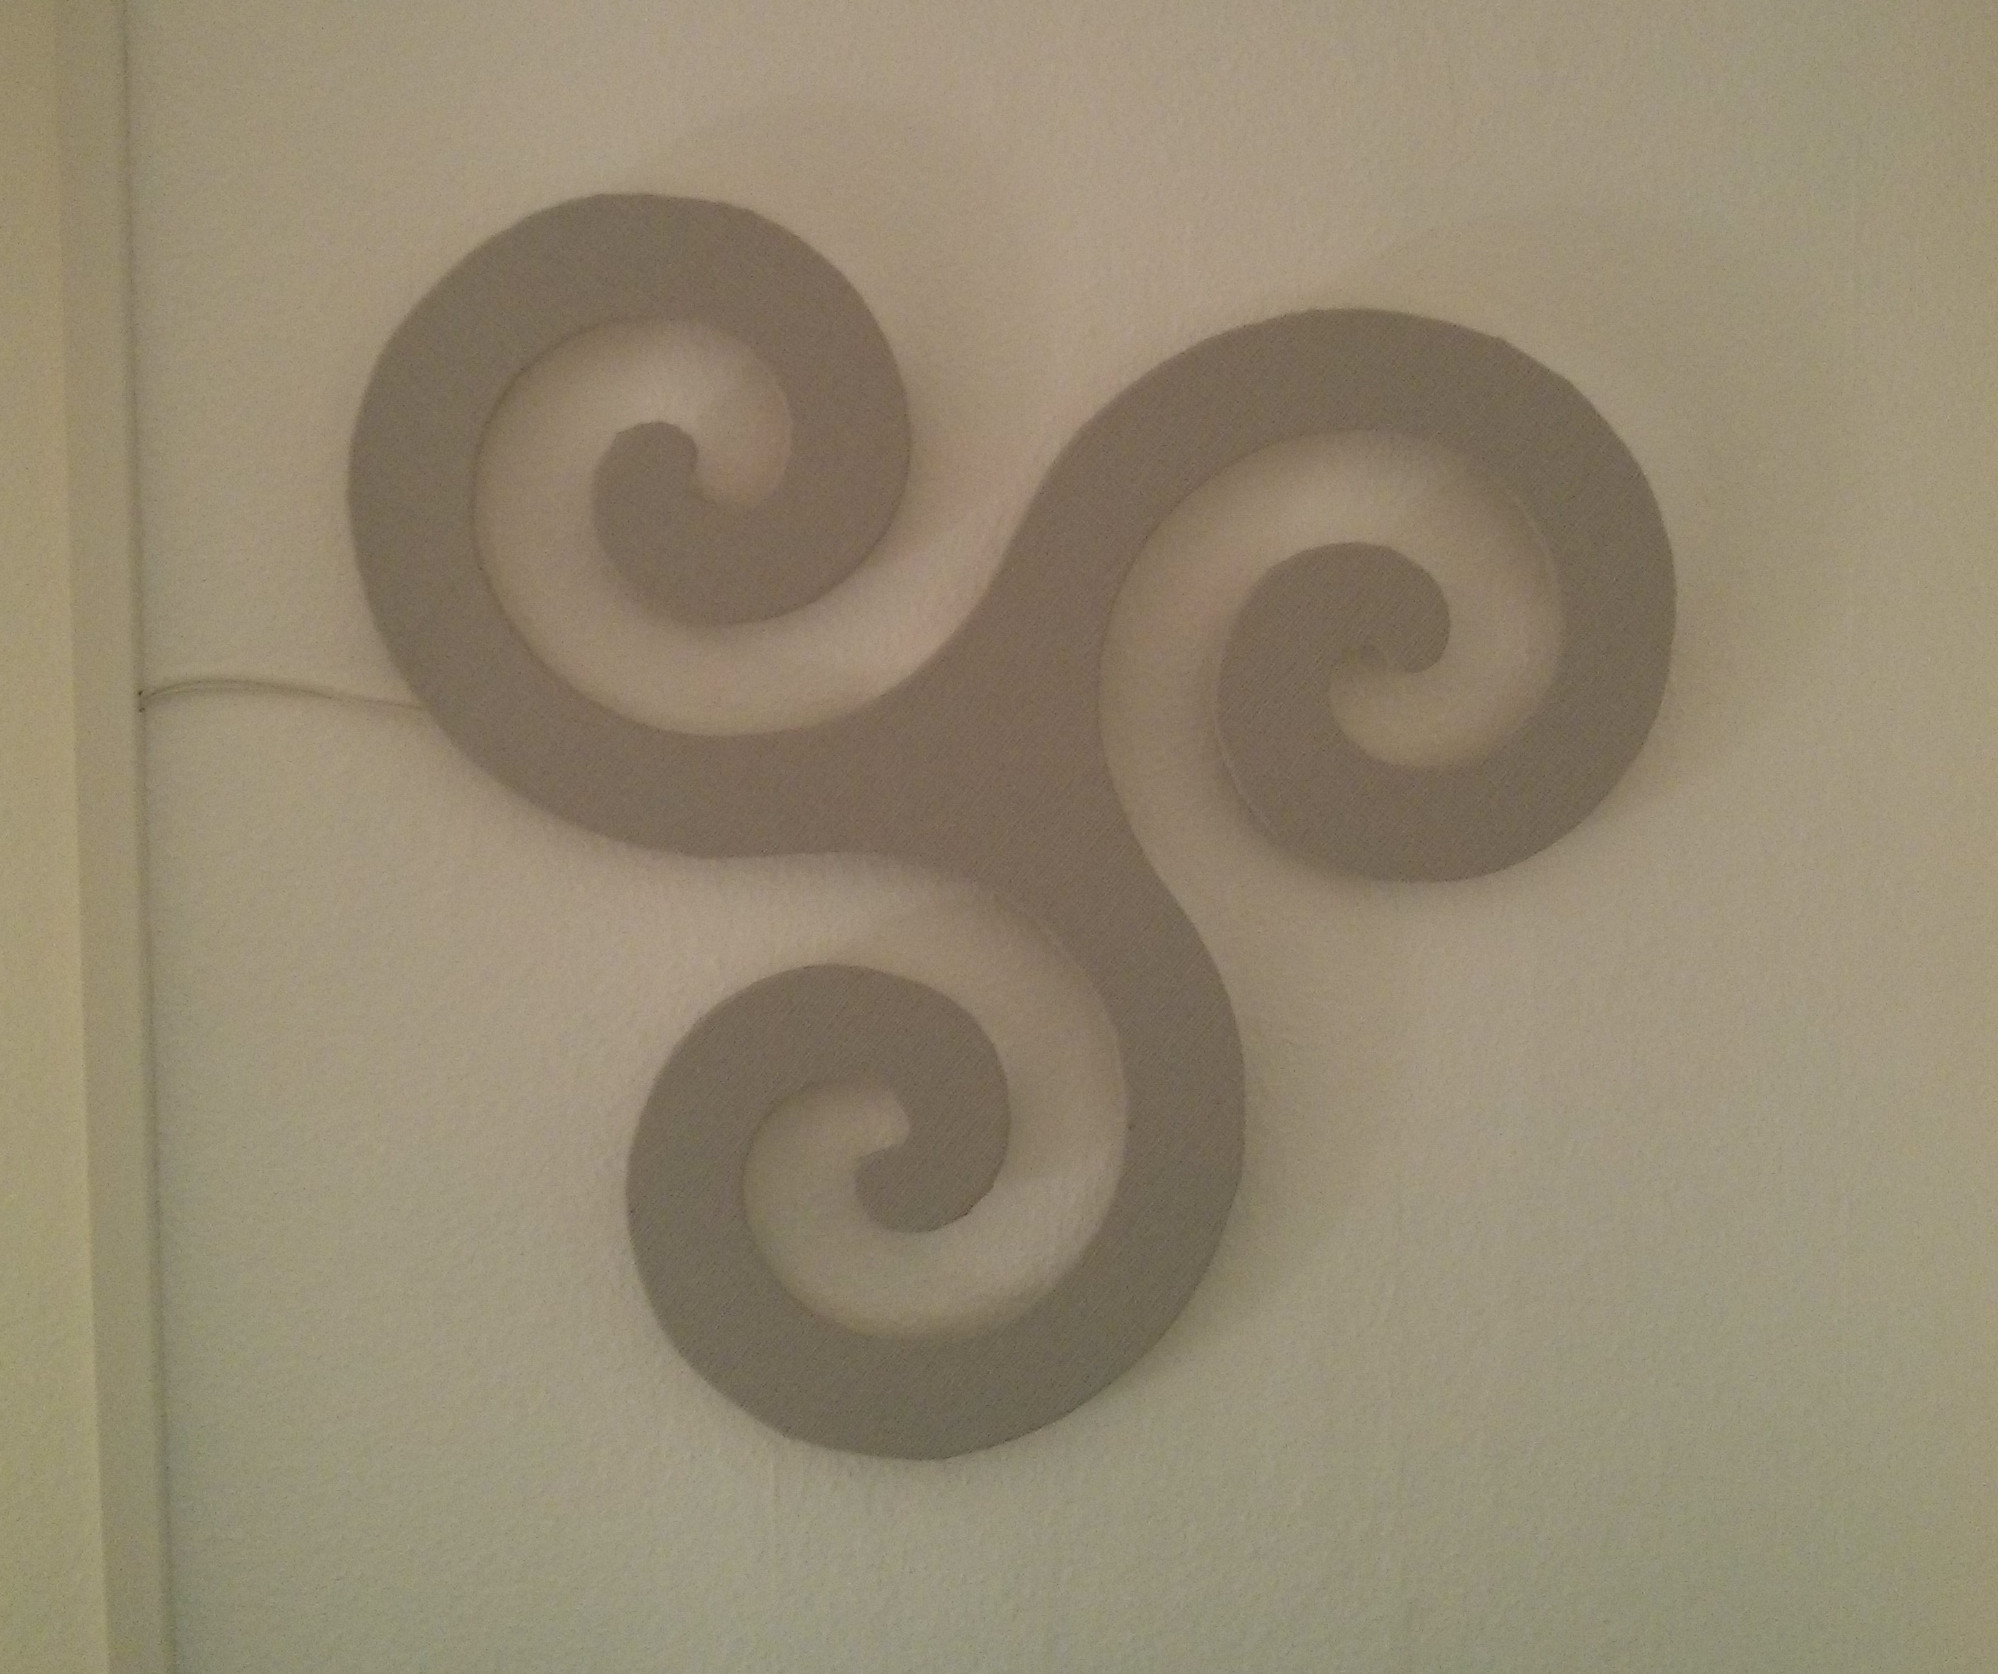
It’s built of plywood, some wallpaper and a few LED strips.

Preparation

I searched a nice figure I want to cut. On wikipedia I found a triskele as svg so it could be easily resized and printed.

For printing I couldn’t find a program for printing images on DIN A4 paper for linux, so I used Easy Poster Printer for Windows.

Then I glued the paper on the wood and used a pin to stick through the paper and mark the form in the wood.

To cut the wood I used a fretsaw to be more accurate than with a jigsaw and sandpaper for rounding.

Decoration

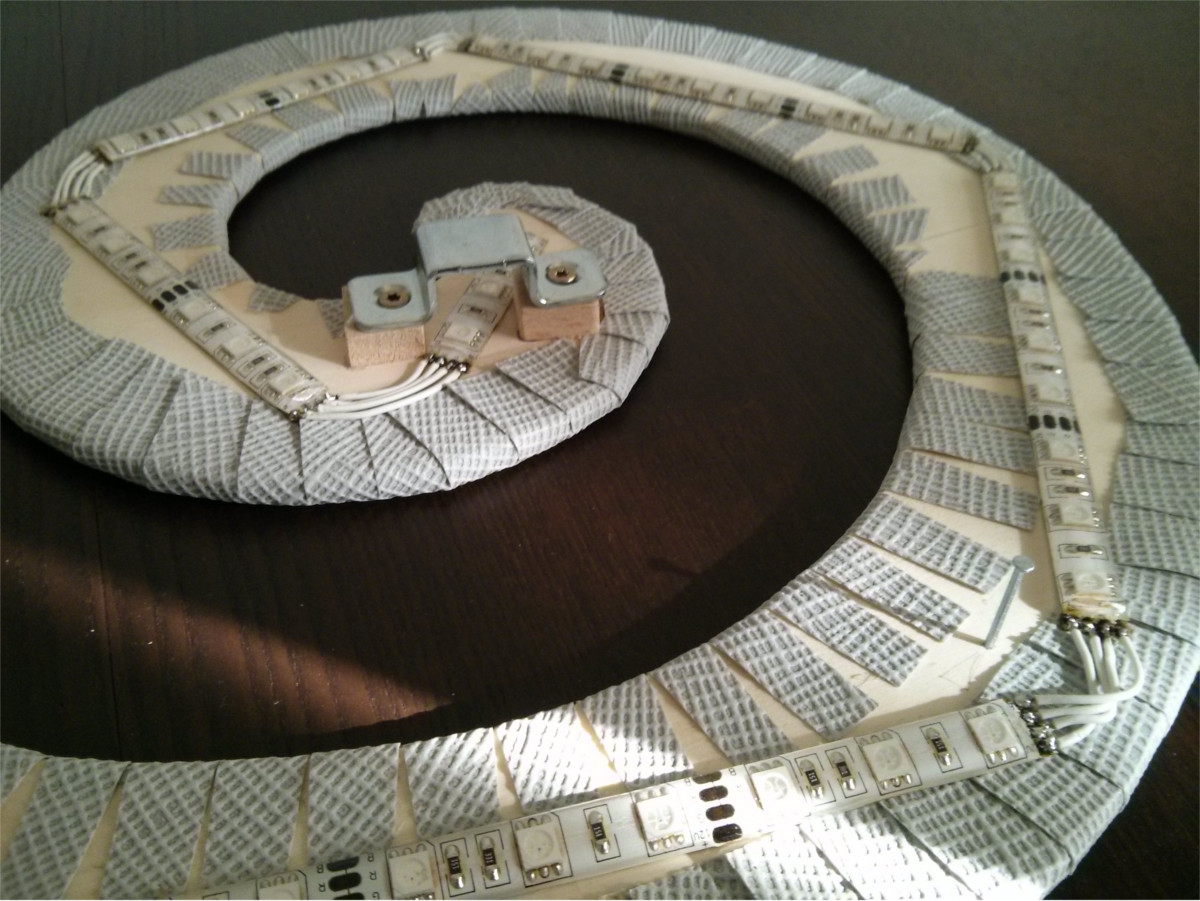
Then the wallpaper is glued to the wood and the paper flaps are wrapped around the edges to prevent it from separating.

Wallmount

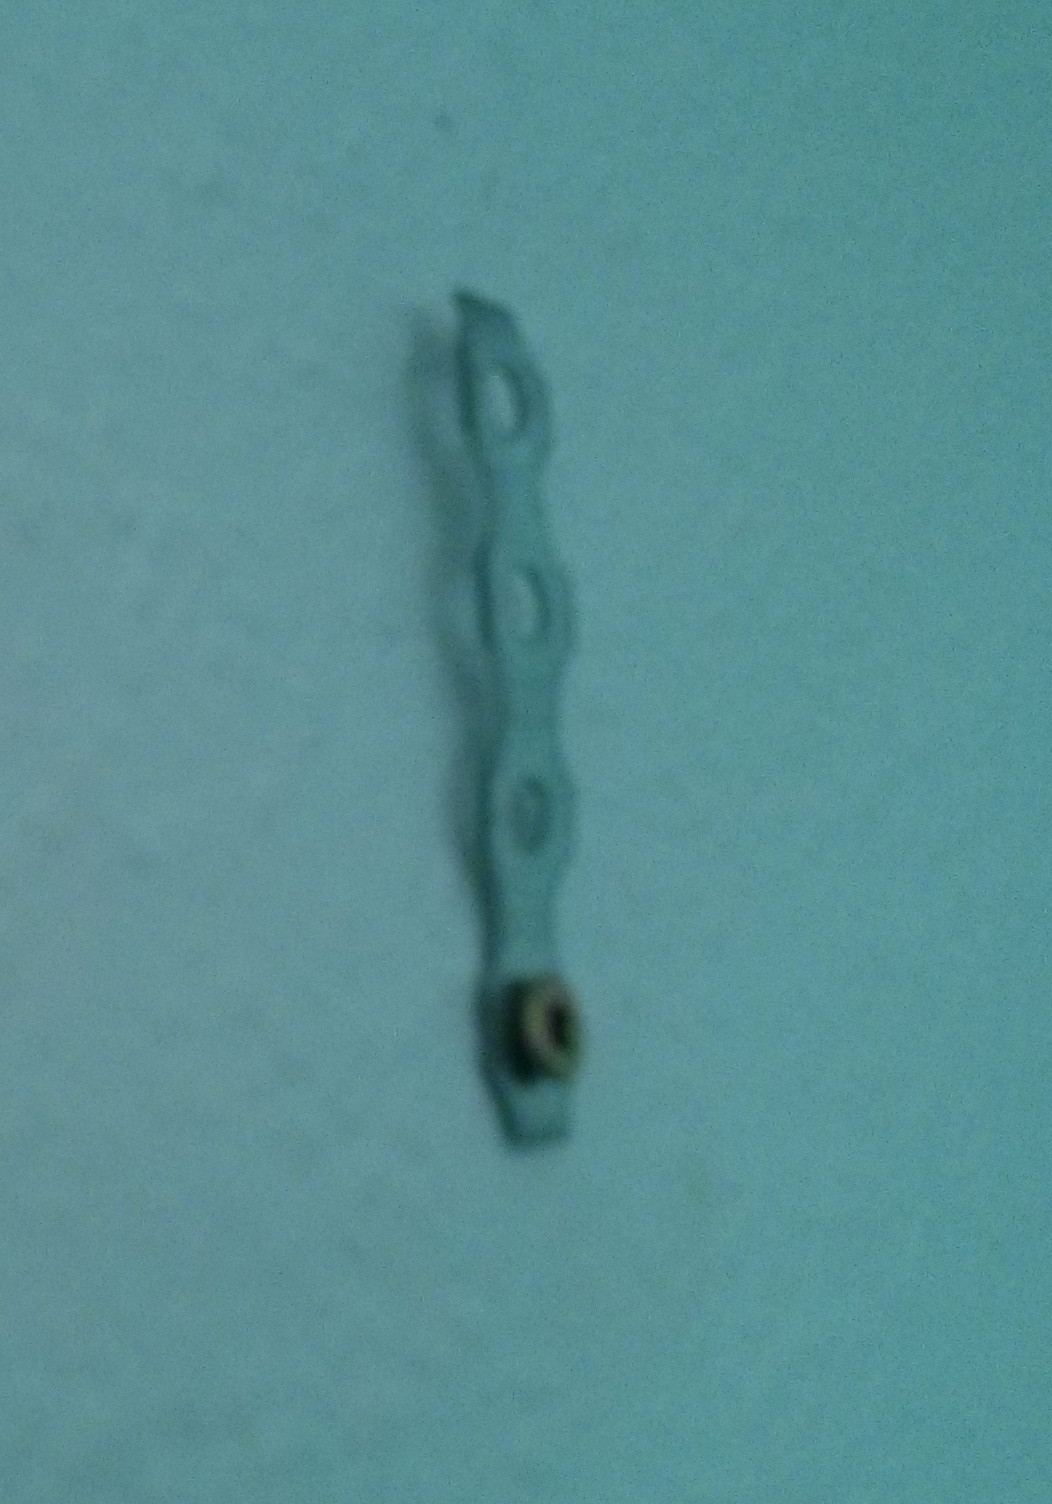
To mount the light on the wall I planned to use two metal hooks, but the distance to the wall was a bit too far. So I used a perforated foundation tie and bend it, so that it holds the metal bracket.

Electrics

As backlight I used a RGB-LED strip with 60 LEDs/m from ebay. They can be cut every few centimeters and have a self-adhesive background. If you chose a form with less curves you avoid a few cuts from the strip, which is not bendable.

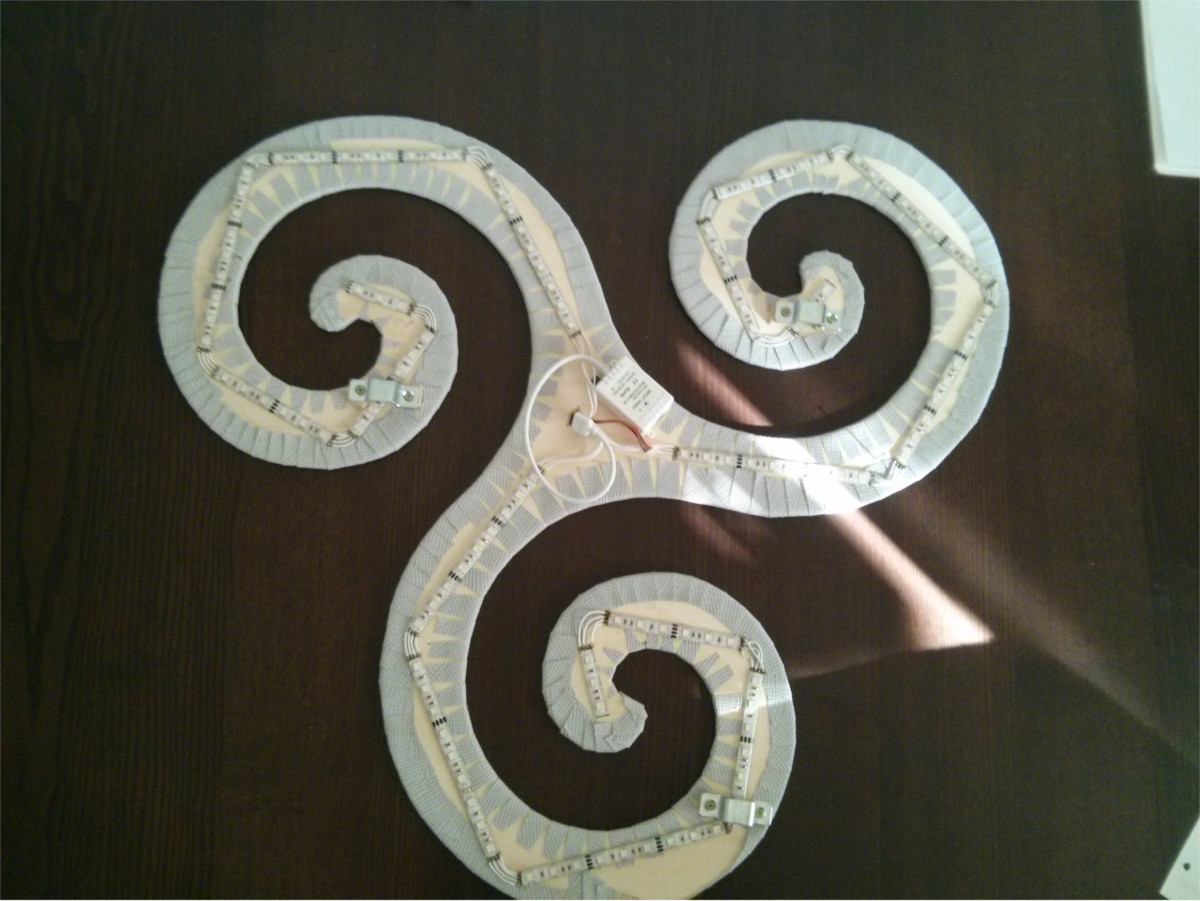
I currently use the provided controller and remote, which has limited functions but enough for daily usage. Someday I’ll replace the controller with ip capability.

IPv6

I recently configured an IPv6 tunnel from SixXS on my FritzBox so that I can surf the web with IPv6.

To configure an IPv6 tunnel, you just have to register on the SixXs website, wait for approval and request a Heartbeat-Tunnel. Then type the tunnel-id and your login information in your FritzBox.

After having a working IPv6 connection at home, I enabled IPv6 on my servers. Hetzner provides a /64 to every server. To enable it, I just added a few lines to my network configuration:

$ cat /etc/network/interfaces
iface eth0 inet6 static
  address 2a01:4f8:191:31c6::2
  netmask 64
  gateway fe80::1

In nginx I changed in every server block the listen directive:

server {
  listen 80; #old
  listen  [::]:80; #new
}

If you forget some blocks, you may get this error:

$ service nginx restart 
Restarting nginx: nginx: [emerg] bind() to 0.0.0.0:80 failed (98: Address already in use)
nginx: [emerg] bind() to 0.0.0.0:80 failed (98: Address already in use)
...

Then I added a new AAAA-Record for my domains and now they are available over IPv6.

To test if everything works, I would recommend an online IPv6 Website test like IPv6 test. I also found the chrome plugin IPvFoo which shows the usage of IPv4/6 on every page and all includes.